
Using PowerShell Scripts with the Box CLI
Using PowerShell Scripts with the Box CLI
By itself, the CLI is already powerful, but using it alongside a PowerShell script lets you complete repetitive tasks even quicker. We created an example scripts folder within our CLI GitHub repository to help jump start your development.
To show you how CLI scripts work, we are going to use the provision and create users script template.
This script uses the Box CLI to build and create a personal folder structure, create managed users in bulk, and provision such new users by adding them to the newly created folder structure as collaborators with viewer or uploader roles.
Use case
To automatically create users and folder structure, the script performs the following steps:
- Uses a
.csvfile to load employee data in bulk. - Defines folder structure using a JSON file or uploads the structure from the user's local directory.
- Creates each new managed user a predetermined personal folder structure
Prerequisites
Windows
Install the latest version of dotnet core.
MacOS & Linux
Install PowerShell
Box CLI
To use the script, you will need the Box CLI installed and configured. If you haven't done so yet, see step 1 of this quick start guide. Alternatively, go to your developer console, and follow the guide Setup with OAuth 2.0.
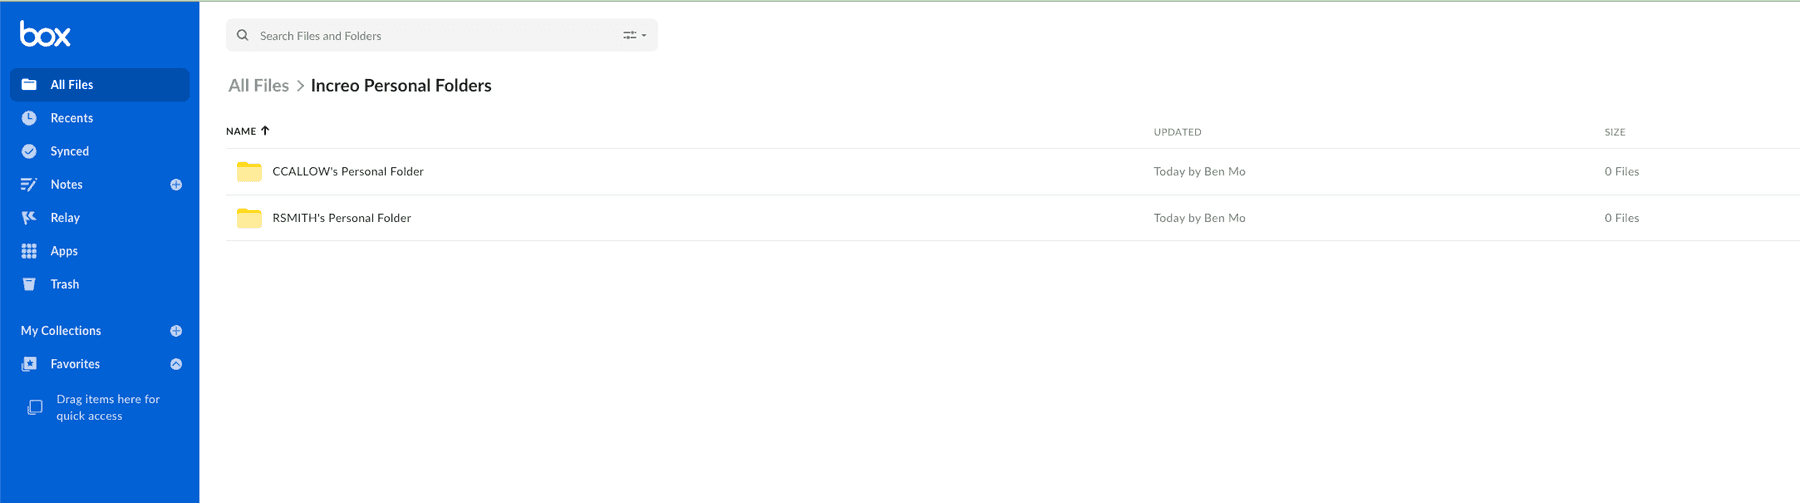
Create a personal folder parent folder
This script works by creating a folder structure for each user that is created. In order to do this, you should go ahead and create a parent folder for all of the personal folders to live in. Otherwise, every folder will live in the root of the user that the CLI is setup with. You may name and place the folder wherever you wish, but the user you setup the CLI with must have access to the folder.
Here is an example of what the structure will look like after running the script.
Download the script
Clone the script to a directory of your choice and navigate to that directory.
git clone https://github.com/box/boxcli.git box-cli
cd box-cli/examples/User\ Creation\ \&\ Provisioning/
Configure the script settings
Adapt the script to run in your own environment. In this example, you will use the sample data provided with the script.
Provide the parameters
There are a few parameters you need to supply before running the script:
EmployeeList: Path toEmployee ListCSV.PersonalFolderParentID: Destination folder ID for all personal folders to be created in, either when using JSON file as input to create folder structure, or uploading local structure. This folder should be made prior to running the script the first time. It is not advised to make this value0, as this will create individual Personal folders in root of the account you set up the CLI with.FolderStructureJSONPath: Your own folder structure JSON path.PersonalFolderSlug: Ending name of the folder that will be created as parent for personal folders. It's set toPersonal Folderby default, but feel free to set it to your needs. The username is concatenated with this value to create each user's personal folder name. ex -rsmith2's Personal Folder.LocalUploadPath: Local directory to upload folder structure directly.
Update the user list
You can use the following sample files to load users:
Employees_1.csv, Employees_5.csv, and Employees_10.csv.
Each will load 1, 5 or 10 new users.
Customize these files for a test run. For example, update the
Employees_1.csv with the following data:
firstName,lastName,email,username
Isaac,Newton,abc@abc.local,INewton23
With the EmployeeList parameter, specify which .csv file you would like
to load data from.
Create folder structure
You can either create a folder structure from a JSON file or upload it from your local drive.
Use a JSON file
The Folder_Structure.json file contains the folder structure you want to create.
As an example, you will create a Market Research and a Sales Plays
folder, each with a subfolder Statistics and Big Pharma respectively.
The script will place this folder structure
under the Personal Folder folder for that user inside the parent folder
you designate.
With the FolderStructureJSONPath parameter, provide the location of the
Folder_Structure.json file.
Upload file from local drive
You can also upload a folder structure directly
from the local file system. With the LocalUploadPath parameter, provide the
path to your local folder you want to upload. The folder is still named and
uploaded identically to the JSON file method.
Update the parameters
You have 3 ways to pass parameters before running the script:
-
Use static values in the script
# Set Employee List CSV Path # firstname, lastname, email, username $EmployeeList = "" # Personal Folder Structure: Set either path build off JSON or directly upload # a local folder $FolderStructureJSONPath = "" $LocalUploadPath = "" # Ending slug of folder that will be used in creating personal folders for new # users. Value will get concatenated with username # If username is RSMITH, the personal folder name would be # RSMITH's Personal Folder $PersonalFolderSlug = "" # ID of parent folder for created personal folders to be created in # This folder should be created before running the script the first time. # It is not advised to make this value 0, as this will create individual # Personal folders in root of the account you set up the cli with $PersonalFolderParentID = "" -
Run the script with parameters
You can specify parameters while running the script, for example:
PS > ./Users_Create_Provision.ps1 -EmployeeList ./Employees_1.csv ` -LocalUploadPath ./PersonalLocalUpload ` -PersonalFolderSlug "Personal Folder" ` -PersonalFolderParentID 123456789 Starting User Creation & Provisioning script... -
Provide the parameters when prompted
If some parameters are still missing at runtime, the script will prompt you to provide them:
PS > ./Users_Create_Provision.ps1
Please enter the path to the employee list CSV file:
./Employees_1.csv
Please enter the path to the folder structure JSON file or the local upload path:
Folder_Structure.json
Folder structure JSON path set to: Folder_Structure.json
Please enter the ID of the folder where you would like to create the personal folders:
0
Starting User Creation & Provisioning script...
Run the script
-
Change the directory to the folder containing the script. In this example, it is the
User Creation & Provisioningfolder.pwsh -
Run the script:
PS /home/rvb/box-cli/examples/User Creation & Provisioning> ./Users_Create_Provision.ps1The response will be similar to the following:
Starting User Creation & Provisioning script...

firstName lastName email
--------- -------- -----
Isaac     Newton   abc@abc.local
Extracting folder structure
Found current User ID: 18622116055

Created a user owned Onboarding folder with id: 164734146745

Created subfolder Market Research under Onboarding folder with id: 164735375585

Created subfolder under Statistics folder with id: 164734956242

Created subfolder Sales Plays under Onboarding folder with id: 164735683001

Created subfolder under Big Pharma folder with id: 164736160637
Creating employee Managed User account with first name:
Isaac, last name: Newton, email: abc@abc.local, and

Created Managed user with id: 19605663027

Type: collaboration
    ID: '37250833128'
Created By:
    Type: user
    ID: '18622116055'
Name: Rui Barbosa
Login: barduinor@gmail.com
Created At: '2022-06-07T13:58:05-07:00'
Modified At: '2022-06-07T13:58:05-07:00'
Expires At: null
Status: accepted
Accessible By:
    Type: user
    ID: '19605663027'
    Name: Isaac Newton
    Login: abc@abc.local
Invite Email: null
Role: viewer uploader
Acknowledged At: '2022-06-07T13:58:05-07:00'
Item:
    Type: folder
    ID: '164734146745'
    Sequence ID: '0'
    ETag: '0'
Name: Onboarding
Collaborated Managed User Isaac Newton to current users
Onboarding folder for provisioning
Running the script again for new users
It is common to run this script regularly as your company hires new employees.
You can simply edit the .csv file, removing the previous rows of users and
adding the information for the new users. Then, the script may be ran again.
Summary
You explored automation using a PowerShell script with the Box CLI to provision users and create an initial folder structure.
Make sure to explore our other sample scripts for more use cases.